Sunday, July 31, 2016

Carey Top - a Dolman Sleeve Beauty!

Carey Top with Pleasing Dolman Sleeves

Not all Dolman Sleeve Tops are created equal! If not Drafted Well, a Dolman Sleeve Pattern can end up looking overly Baggy and Unflattering!


That said, check out the Carey Top by Itch to Stitch.  It's a Real Winner!!


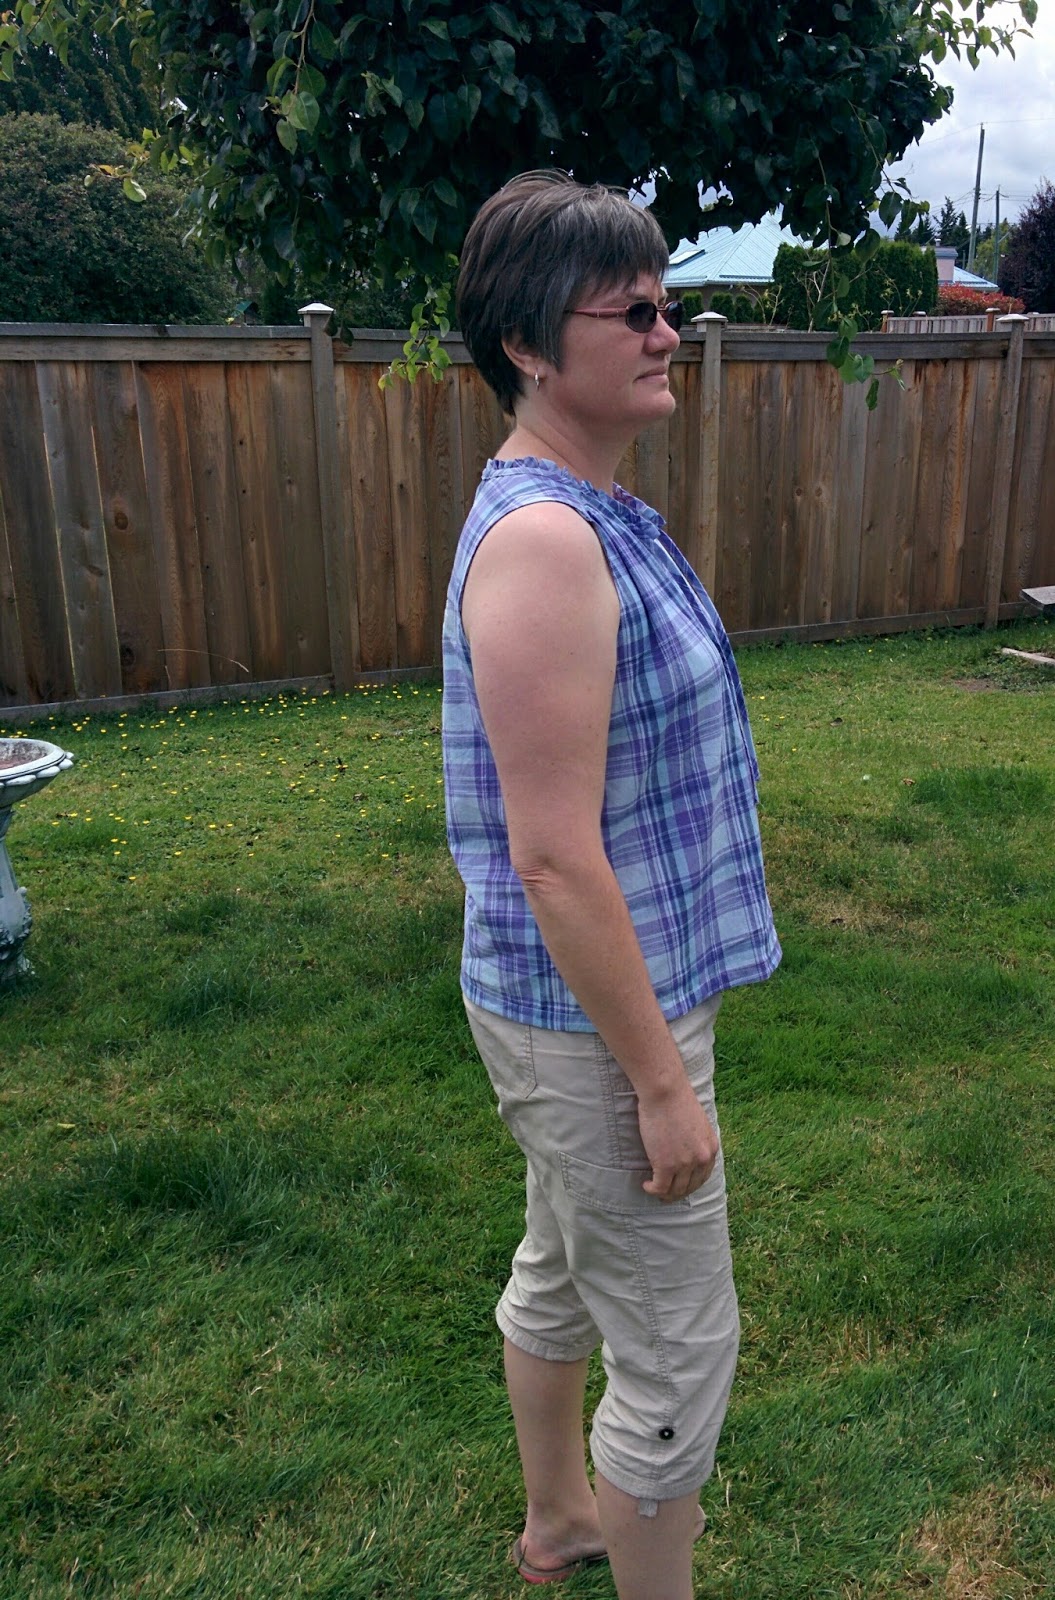
The Sleeves of the Carey Top are stylish and flattering without extra bagginess.
The Shoulder Panel adds a pop of interest with it's Contrasting Fabric.
The Drawstrings create more Visual Interest and a lovely Gathered Effect.
The High-Low Shirttail Hem is the final stylish element that brings everything together!


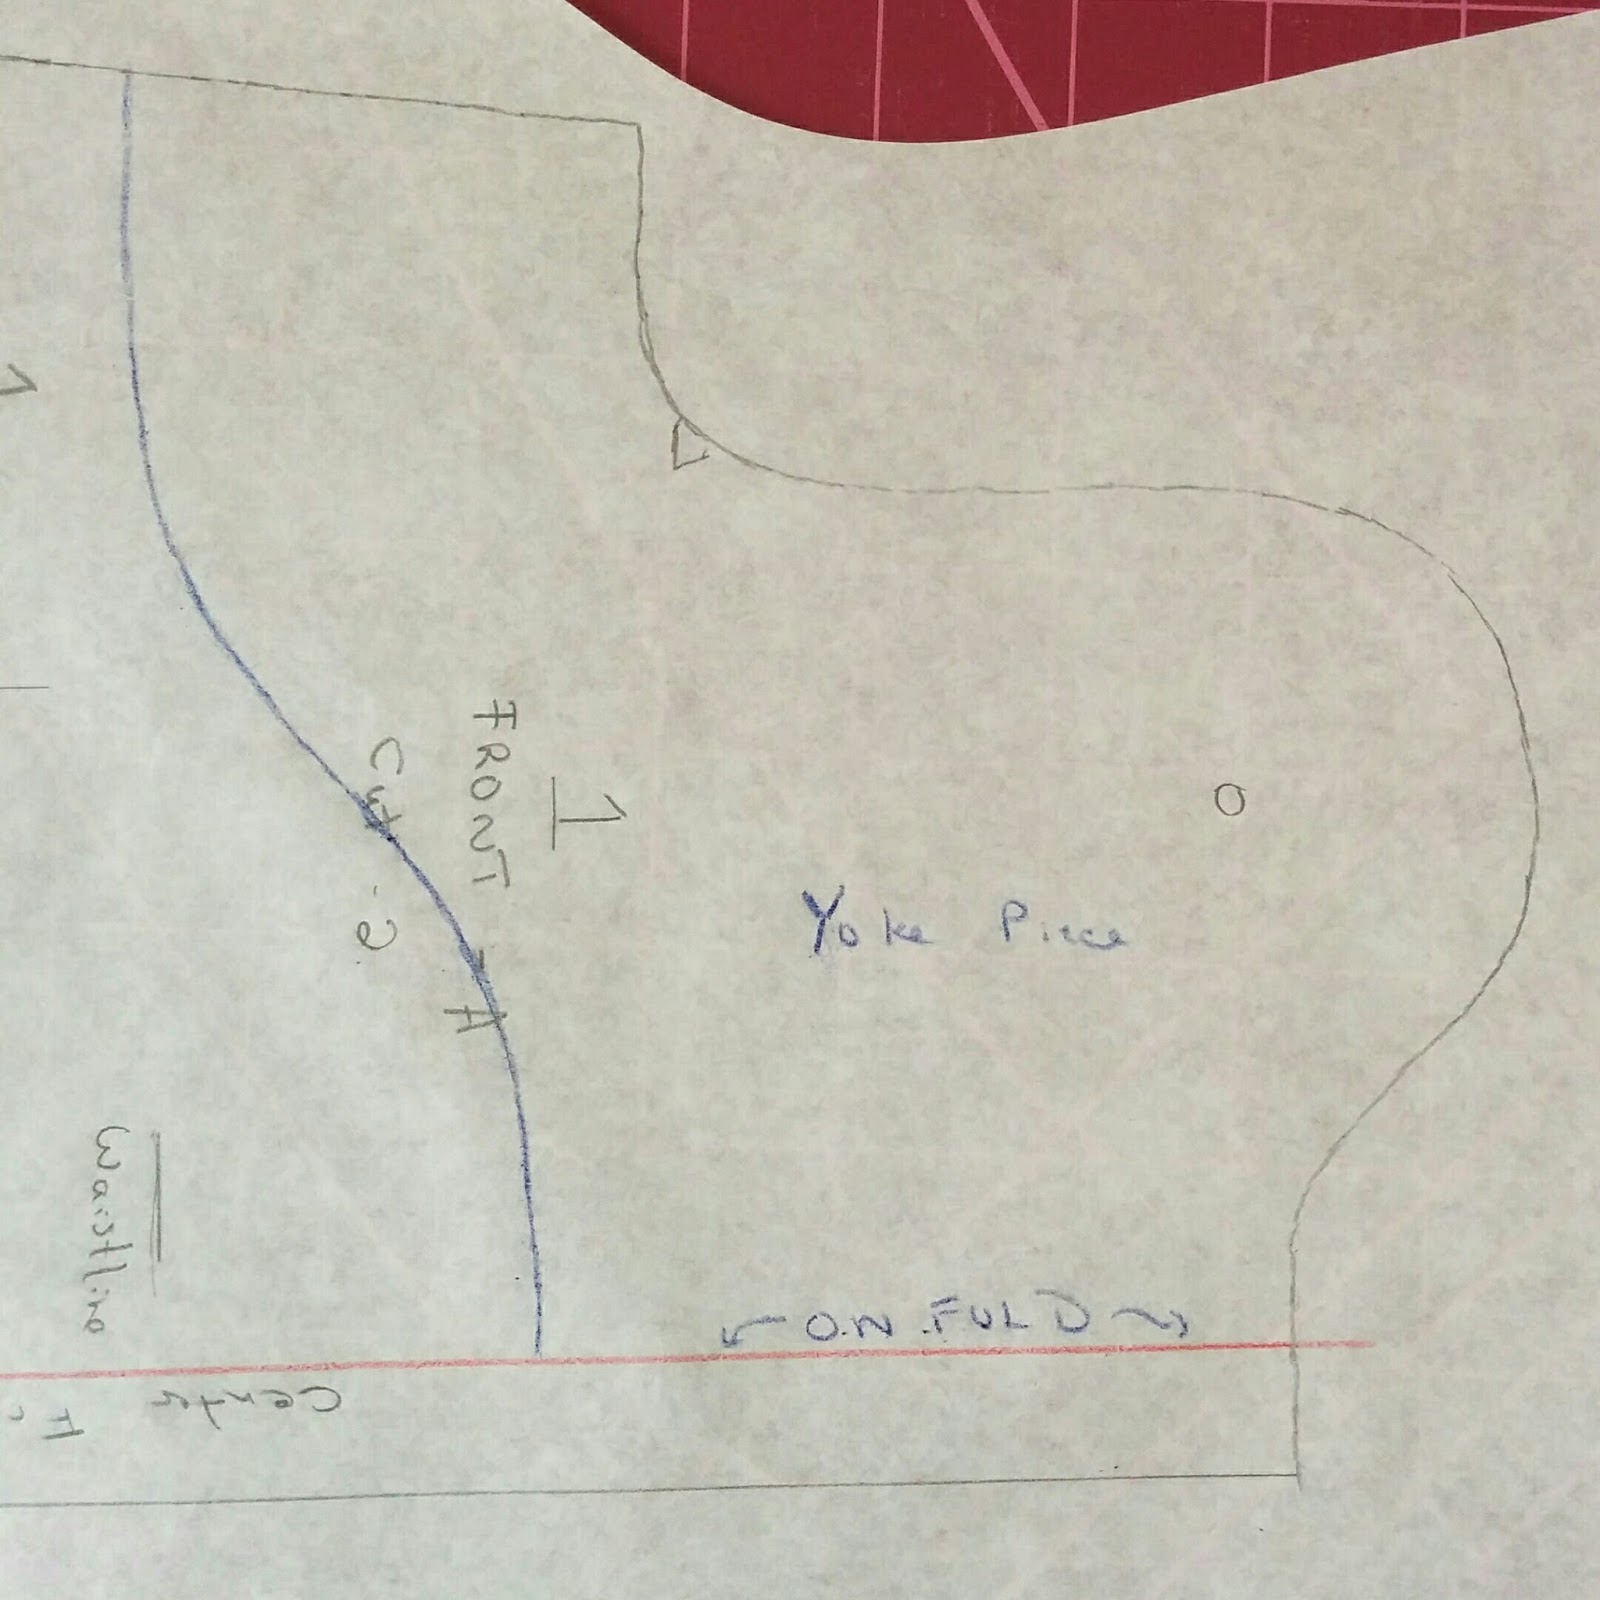
Contrast Shoulder Panel of the Carey Top


Carey Top is a Quick and Easy Sew.  In a couple of hours you will have a Comfy and Stylish Top!  And it can be made in either Woven or Knit fabric.


Change up the Length and go from a Tunic, which also makes a Terrific Swim Coverup, to a regular Top Length like the one in the Photos.  It was shortened by 2 inches.  Or make it Dress Length.  Add a great belt and it Rocks!

So Comfy!!


 I also chose to Highlight the Neck Binding by placing it on the Outside.


Carey Top is a great option for when you want a bit of Sun Protection!  It is lightweight and breezy yet covers the shoulders and arms well.

Relalxing in my Carey Top!


Back View of Carey Top


I've never been disappointed with a Pattern from Itch to Stitch because they are so Excellently Drafted! 


Itch to Stitch Patterns are Easy to Fit to your unique body proportions too.


The Techniques used in the sewing are High Quality, while the Instructions and  Illustrations are Clear and Easy to Understand.


Mocha loves my Carey Top Too!


Give the Carey Top a go and you'll see what I mean.  You will soon be hooked on Itch to Stitch patterns like me!!


Happy Sewing....


Friday, July 29, 2016

Serger Savvy - It Wasn't a Tension Problem!

How Do I Fix This!!!
What a Pain! My Serger was not operating properly.

Have you ever started a sewing project, eager to go and Wham! the Serger isn't doing it's thing properly?  Frustration!

This is what my Serger was putting out ..........

Maybe a Tension Problem?  OK, get out the manual.

No matter what I tried, still not right!

After a nights sleep ( it was late night already when I tried to fix it first time), I went at it again.

What else could be off?  Well, the needles are fairly old.  Maybe they need changed.

When I looked closely at the needles in the Serger I noticed one thing right away.  They were a size 90.(Good thing they were color coded or I'd never be able to read the size)

My Fabric for this project was  very lightweight!  Could that be contributing to the problem?

So I changed the needles to a 70 size, gave the Serger a spin and looked what the result was...

Perfect Finish!


A Perfect Finish!!

I could hardly believe it!!  That's all that was wrong, the needle didn't work for that particular fabric!

Lesson Learned:  Always check if the Serger needles suit the fabric I'm using!


While perusing the Serger Manual one other thing caught my eye.

It was recommended to oil the Serger after every 10 hours of use!  Wow!  Was mine overdue.

Now She's (my serger is a she!) running Smooth as Silk.

My Husband gave me a great tip for keeping track of  oiling etc.  A  Maintenance Log Book!!  He swears by this for all tools that need regular maintenance.  Eveytime you do a particular upkeep on the Serger write it down in the Log Book and you'll always know if something needs done and when.  I even wrote the needle size change down in my New Maintenance Log Book for future reference.

The Tools of the Trade, our Sergers and Sewing Machines etc.  will serve us much better when well  maintained.  It's worth the Time, even if you'd rather be sewing right away!

And I'll never forget to check if the needle size in the Serger corresponds to the type of fabric I'm using just like I do with the Sewing Machine!

Happy Sewing!


Tuesday, July 19, 2016

Modify a Pattern - Add a Yoke

This Cute Owl Romper was my latest sewing project.

 I'm quite pleased with how it turned out because the pattern originally had no Yoke.  I modified the pattern to add one!


This was the Original Pattern.  It has a center front seam and no yoke.

I wanted the Owls on the Fabric to stand out a bit more and thought a Yoke would accomplish that!

So, I decided to modify the pattern and add one.

Here's how to do it!


First trace the original front pattern piece and draw in the stitching line.


Trace pattern - add Stitching line - in Red Here

Then draw the yoke shape you want ( this pattern had a inside facing I liked the shape of so I copied it).

Draw in Yoke Shape


Next add seam allowances ( 3/8" in this case) to Both sides of the Yoke Line.


Add Seam Allowances to Both Sides of line
The Yoke piece is outlined in Blue.  Notice it extends only to the original stitching line( the red line).  The lower front piece is outlined in Green. Notice it extends all the way to the cutting line.

Next, trace the new yoke piece.


Trace new yoke piece

Next, cut the pattern apart following the outlines for the lower front piece.  Throw the top yoke piece you just cut off in the trash immeditately so no confusion can occur!


Cut apart on lower front outline and trash the yoke piece!
And that's it.  Now you have 2 pattern pieces.  The yoke piece you traced over and the lower front piece you cut apart.

Two pattern pieces ready to use


To stitch this up, just seam the lower front pieces together, then sew the yoke piece on.  From then on follow the regular sewing directions from the original pattern.

And here's my finished Romper with a Onsie! Cute isn't it?  I love how the front Yoke adds just the Look I was aiming for.

Go ahead and give it a try yourself!  Happy Sewing!

For Sewing Patterns check out my Seaside Fabricrafts Etsy Shop!

Sunday, July 17, 2016

New Favorite Summer Top - Not a T-Shirt!

This Purple Plaid Woven Version of the Vienna Tank has come to be my Favorite Summer Top!


 Now, I admit T Shirts were my go to Summer Staple.  Not any more!  Once I saw This Pattern by Itch to Stitch  it was a game changer!

So much more Dressier than a T-Shirt don't you think?

While the Vienna Tank is meant for Knit fabrics (except for the yoke, which is in Woven fabric), it can very easily be sewn up in a lightweight woven fabric.  An easy Vertical Front Adjustment is used if making a C cup bust size or larger.  For info on how to do this see my post The Vienna Tank - Using All Woven Fabric.


The Vienna Tank has great features like a Yoke, which can be made in matching or contrasting fabric for a Color Blocking look.

Soft Gathers in the Center Back and Shoulder Seams make this Top loose and flowing without being over-big.

A cute bias cut ruffle can be added or left off, depending on your choice.  I added one to this particular one!

And it's a Fast Sew, not more than about 2 hours from start to finish.


So far, I've made 3  Vienna Tanks . One from knit fabric and two from woven fabric.  But I must admit this particular one is my Favorite! The Fabric Choice is what makes is so Terrific!
 It's sewn from a Lightweight Cotton Shirting.  So Cool and Comfortable I wish I had one for everyday!  If I find more fabric like this I soon will!


So, what about you? Does the Vienna Tank sound interesting?  Check it out and see if it dosen't become a Summer  Favorite for You too!


Here's a link to the Pattern for you.
http://itch-to-stitch.com/product/vienna-tank-digital-sewing-pattern-pdf/?affiliates=seasidefabricrafts

Happy Sewing!!


Thursday, July 14, 2016

Pdf Or Traditional Printed Sewing Patterns - Which is Your Favorite?

Do you love to use Pdf Sewing Patterns?  Or do you prefer traditional printed patterns?

I use both!!  Each have their positive points.

Traditional printed patterns are easier to store: they fold up neater, and take up less space that way.  There is less prep work with traditional printed patterns before you can start sewing: just cut it out and go!

  Another great factor is availability of Real Vintage patterns in Thrift Stores!(or your Mother's Closet). Traditional Printed Patterns are available to order online also. In fact, I sell them in my Seaside Fabricrafts Etsy Shop!
Sample of Traditional Printed Patterns in my Etsy Shop
One of the best things about Pdf patterns is the instant delivery!  After purchasing it online, simply download it and print the pattern out.  Once the printed sheets are taped together you are all set to start cutting out the fabric!

Another great thing with Pdf patterns is that often the Designer is available to answer questions, give sewing suggestions and generally cheer you on as you sew their designs. For example, Itch to Stitch pattern designer Kennis Wong is more than happy to answer any questions regarding her patterns.  Below is one of my Favorite patterns from Itch to Stitch.

Vienna Tank by Itch to Stitch


Mostly, I choose which type, either Pdf or Printed, based on the Pattern itself.  Which means, if I find a great  pattern I want to sew, it dosen't matter if it's a Pdf Pattern or a Traditional Printed Pattern!

So, What about You?  Have you used both kinds of Patterns?  Or do you have a Preference?

Either way, Happy Sewing!

Sunday, July 10, 2016

Marbella Dress - Color Blocked

The Marbella Dress by Itch to Stitch is a terrific design for color blocking.

Marbella Dress with Half Circle Skirt Color Blocked

The color blocking adds a nice touch of contrast and interest!

Front View
Back View
Color Blocking allows for many more creative choices for stitching up the Marbella Dress!!

With 2 Skirt Choices and Color Blocking Option, you can make endless variations from this one pattern!

Have you gotten your copy yet?  Link to the pattern is below.  Check it out and get stitching!

http://itch-to-stitch.com/product/marbella-dress-digital-sewing-pattern-pdf/?affiliates=seasidefabricrafts

Saturday, July 9, 2016

The Vienna Tank - Using All Woven Fabric


Ok, so you know I love the Vienna Tank by Itch to Stitch.

Today I'd like to show you how it looks in all woven fabric instead of a knit.

Back View

Side View

Vienna Tank in Woven Fabric
 In these photos I have just come back from the Hair Salon getting a trim, so there are some real life wrinkles!

The fabric is a lightweight shirting.  

This time around I chose to add the optional bias cut ruffle to the neckline, since the plaid fabric looks so sweet cut on the bias!

Close up of the Bias Ruffle


To make the Vienna Tank from all Woven Fabric a Vertical Front Width Adjustment is needed if you are a C cup or larger in the Bust.(Sometimes a C cup can get away without this adjustment, but its usually more comfortable with it).

A Vertical Front Width Adjustment is Simple!!  Just add around 1 inch to the front pattern piece from the middle of the shoulder seam straight down to the hem!  It's that simple!!

This opens up wonderful possiblilites for fabric choices for the Vienna Tank.  Just remember to choose lightweight woven fabric so it drapes well.

And by the way the Vienna Tank looks Fabulous with Sweaters for cooler times in the evening!


If you haven't gotten your copy of the pattern yet here's the link to it...


Happy Sewing!!


Wednesday, July 6, 2016

The Vienna Tank - A Summer Staple

</a>


Take a Look at this Terrific Vienna Tank I recently made myself.

I love the fact that it's sleeveless and yet offers more coverage to the upper back and chest areas.

It's cool, comfortable, and flattering!

Dress it up, or dress it down.  Either way its a winner!

It has a yoke in a woven rayon fabric and the body is a silky, soft, stretch polyester.

With soft gathers at the shoulders and center back it floats gracefully around the torso.  

It can also be sewn completely in woven fabric with a simple vertical width adjustment.  More about this in another Blog!

The perfect summer staple!   

I'll definitely be sewing more of these.

The Vienna Tank is a pdf pattern by Itch to Stitch.  Link below if you'd like to check it out for yourself.